Traditional Cornish Pasties
Proper Cornish Pasties — Hand-Held Meals Worth the Effort
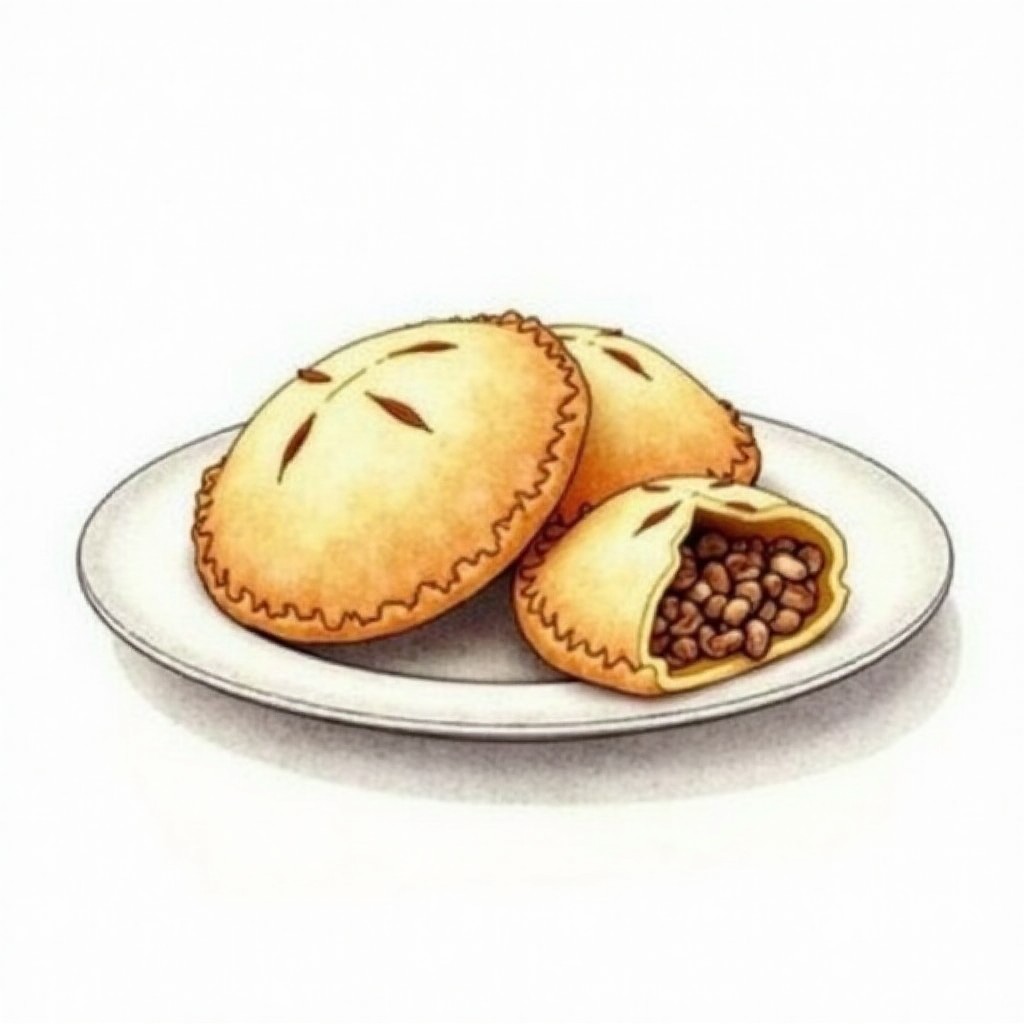
These hefty pastry parcels pack tender beef, potatoes, and rutabaga into flaky, golden cases that Cornish miners once carried underground. The secret is raw filling that steams perfectly inside its pastry shell, creating its own savory gravy as it bakes.
Watch a group of Cornish miners heading underground with their lunch tucked into jacket pockets, and you'll understand why pasties have that distinctive D-shaped crimp along one side. That thick pastry edge served as a handle — dirty hands could grip it while eating the rest, then toss away the crimped bit that touched their fingers. Smart design for dangerous work, and the reason these hefty parcels survived centuries to become Cornwall's most famous export.
What makes a proper Cornish pasty isn't just the shape, though. It's the technique of using completely raw filling that cooks entirely within its pastry shell. The vegetables release their moisture, the beef renders its juices, and that pat of cold butter melts to create a self-contained steaming environment. By the time the golden crust emerges from the oven, you've got tender meat and vegetables sitting in their own savory gravy — no pre-cooking required.
The pastry itself needs to be sturdy enough to hold all that filling without breaking, yet tender enough to bite through easily. Cold butter worked just until you see pebble-sized pieces creates the perfect balance. Those butter chunks will create steam pockets as they melt, giving you layers of flaky pastry that can support the weight of the filling while still being pleasant to eat.
Traditionally, pasties contained beef, potato, rutabaga (called swede in Cornwall), and onion — nothing more, nothing less. This combination wasn't arbitrary; these hardy vegetables could survive the journey underground and provided the calories needed for hard physical labor. Today, that same combination delivers deeply satisfying flavors that improve as they meld together during the long, slow bake.
Nutrition
Ingredients
Pastry
- 3 cupall-purpose flour
- 1 tspsalt
- 8 ozcold unsalted butter, cubed small
- 6 tbspice water
Filling
- 12 ozbeef chuck roast, trimmed and diced into 1/4-inch pieces
- 2 mediumrusset or Yukon potatoes, peeled and diced small
- 1 mediumyellow onion, diced fine
- 1 smallrutabaga (swede), peeled and diced small
- 2 tbspunsalted butter, cold and diced
- 1 tspkosher salt
- ½ tspfreshly ground black pepper
Assembly
- 1 largelarge egg, lightly beaten
Instructions
- Whisk flour and salt in a large bowl, then scatter the cold butter cubes over top. Work the butter into the flour with your fingertips or a pastry cutter until you have a mixture that looks like rough breadcrumbs with some larger butter pieces still visible — these create flakiness.
- Sprinkle the ice water over the flour mixture and use a fork to toss everything together until the dough just starts to clump. Press it into a disc, wrap tightly in plastic, and refrigerate for 30 minutes. This rest lets the gluten relax and the butter firm up for easier rolling.⏱ 30 min
- Toss the diced beef, potatoes, onion, rutabaga, cold butter pieces, salt, and pepper together in a large bowl. Keep everything raw — the filling will cook perfectly inside the pastry, and the butter will melt to create moisture.
- Position a rack in the center of your oven and heat to 425°F. On a lightly floured surface, roll the chilled dough into 6 circles, each about 8 inches across and 1/8-inch thick. Work with one at a time and keep the others covered.
- Spoon the filling onto one half of each pastry circle, leaving a 1-inch border all around. Don't overfill or they'll burst during baking. Brush the exposed edges with beaten egg — this helps create a tight seal.
- Fold the empty half of dough over the filling and press the edges together firmly. Crimp with a fork or your fingers to create a sealed border, then cut a small steam vent in the top of each pasty. This prevents bursting and lets moisture escape.
- Transfer the pasties to a parchment-lined baking sheet, spacing them well apart. Brush the tops with the remaining beaten egg for a glossy, golden finish.
- Bake for 15 minutes at 425°F to set the pastry, then reduce the temperature to 350°F and continue baking for 35 minutes until the crust is deep golden brown and sounds hollow when tapped. The high heat start creates steam for flaky pastry, while the lower finish cooks the filling through.⏱ 50 min
Tips & Tricks
- Keep your butter cold and visible throughout the pastry-making process — you should see pea-sized pieces even after mixing, as these create the flaky layers.
- Don't pre-cook any part of the filling; raw ingredients create steam inside the pastry that cooks everything perfectly while keeping the meat tender.
- Make sure your vegetable dice is small and uniform so everything cooks at the same rate during the 50-minute bake time.
- The crimp isn't just decorative — press it firmly to prevent filling from leaking out, and always cut that steam vent to avoid bursting.
- Let pasties rest for 10 minutes after baking; this allows the juices to settle and makes them easier to handle without burning your mouth.
Frequently Asked Questions
Can I make the pastry ahead of time?
Yes, wrapped pastry dough keeps in the refrigerator for up to 3 days or can be frozen for up to 3 months. Thaw overnight in the fridge before rolling if frozen.
What can I substitute for rutabaga?
Turnips work well and cook at the same rate, though they're slightly less sweet. You could also use parsnips, but increase the cooking time by 10 minutes as they take longer to soften.
How do I know when the filling is fully cooked?
Pierce the pasty through the steam vent with a knife — if it goes through the vegetables easily and comes out hot, they're done. The crust should also sound hollow when tapped.
Can these be frozen after baking?
Absolutely. Cool completely, then freeze for up to 3 months. Reheat from frozen in a 350°F oven for 25-30 minutes until heated through.
Why did my pasties leak during baking?
Either the seal wasn't pressed firmly enough, you overfilled them, or you skipped the egg wash that helps bind the edges. Always leave that 1-inch border and crimp thoroughly.